
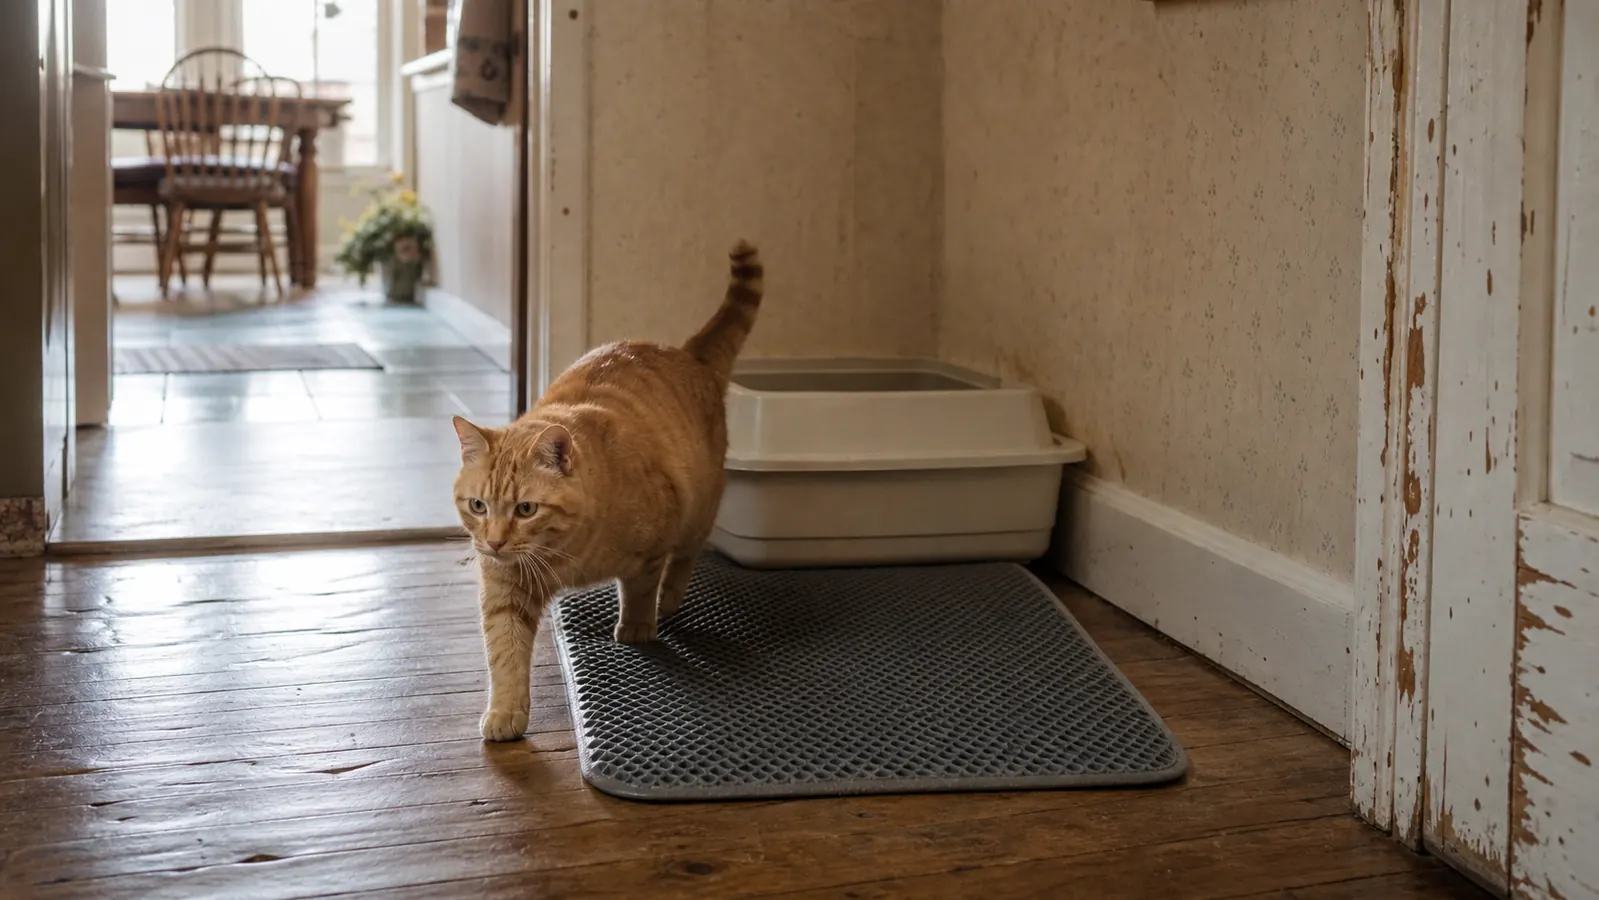
Our litter box sits in the back hall on the wood floor, and that hall runs straight into the kitchen. For about a year, that layout meant I was sweeping gritty litter out of the kitchen doorway every single morning before I'd even had coffee. Tuck, our orange tabby, digs like he's being paid for it, and every fling sent granules skidding across the floorboards toward the room where we actually eat. What finally stopped it wasn't a fancier litter or a bigger box. It was putting a Pieviev double-layer honeycomb mat in the exact right spot and running it the right way, which is a step most people skip.
A litter mat only works if the cat physically has to step on it to leave the box. That sounds obvious until you watch your own cat in slow motion and realize they're clearing the mat entirely with their first stride, landing on bare floor, and tracking from there. Below is the exact process I used to fix that, in order, plus the maintenance routine that keeps a mat working past the first week instead of turning into just another thing to vacuum around.
Stop sweeping the same hallway twice a day
The Pieviev double-layer mat traps granules in a honeycomb layer below the surface, so your cat's paws release litter into the mat instead of carrying it into the next room. Check today's price and see the sizing options on Amazon.
Amazon Check Today's Price on Amazon →Step 1: Measure the exit path and place the mat where the cat actually lands
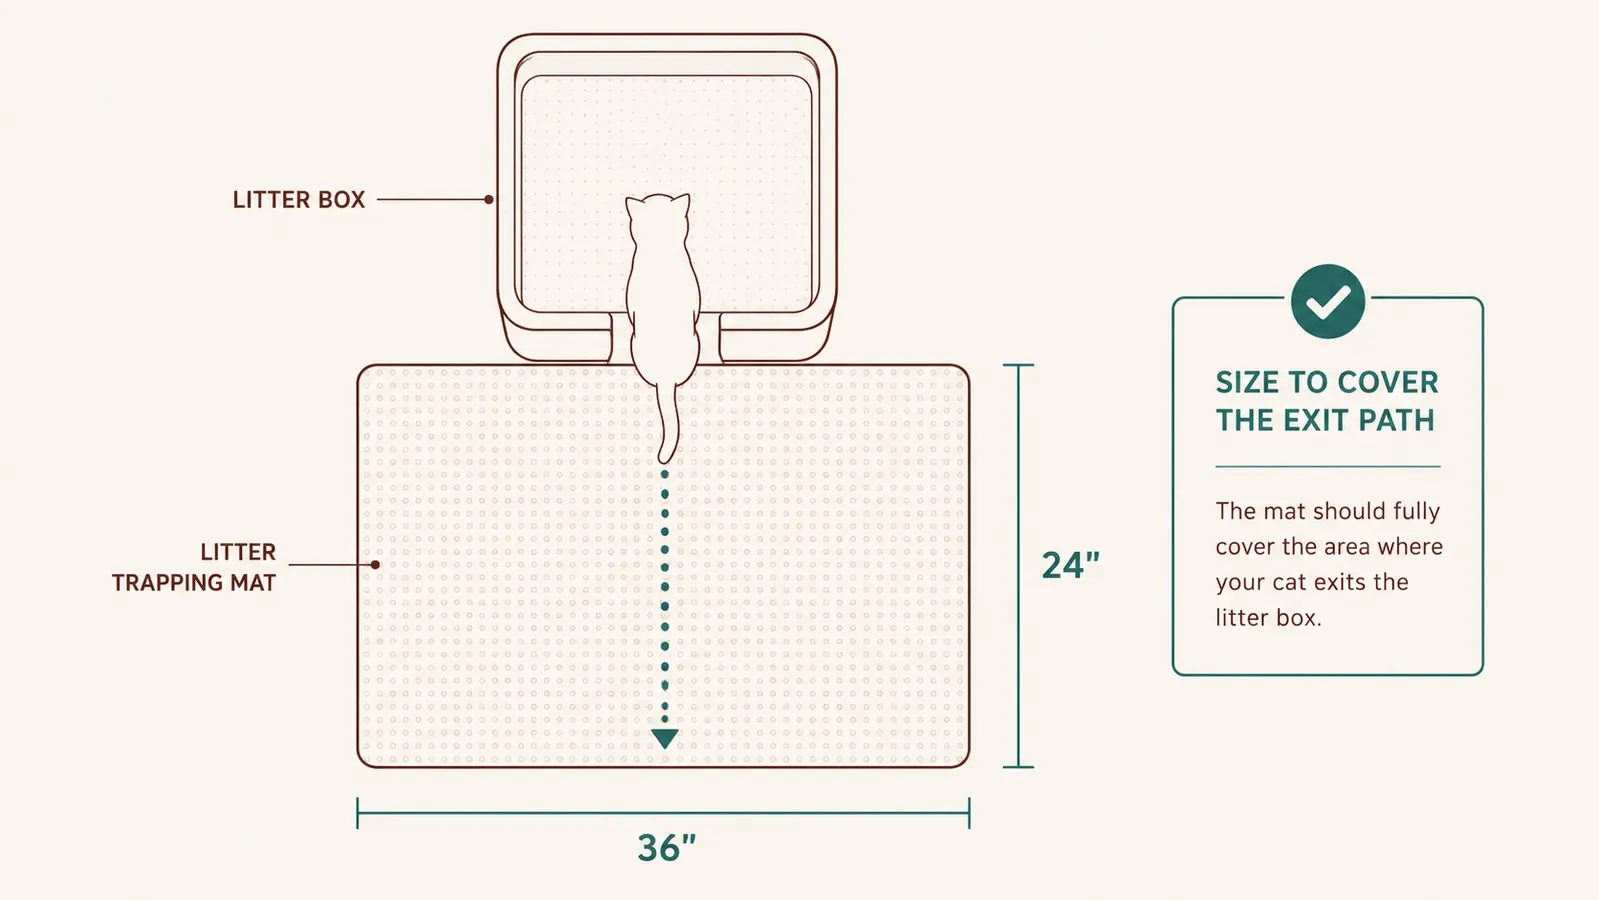
Before you buy or place anything, watch your cat use the box for a day or two and pay attention to the exit, not the entrance. Most cats hop out in one or two strides, and if your mat only covers the first six inches in front of the box, a cat with any kind of stride length clears it and lands on bare floor with litter still stuck between their toes. Get down and measure from the box opening to where the cat's front paws actually touch down. For Tuck, that turned out to be almost fourteen inches, which is longer than most cheap mats on the market.
The Pieviev mat runs 24 by 15 inches, which gave us enough runway to cover Tuck's whole exit stride with room to spare, plus a strip along the side where Pearl, our older Cattle Dog mix, likes to sniff around the box on her way to the wood stove. Push the mat flush against the box lip. Any gap between the box and the mat is a gap the litter tracks straight through, and it defeats the entire point of measuring the exit path in the first place.
If your hallway is narrow, orient the mat lengthwise along the direction the cat walks rather than centered under the box door, since a cat exiting sideways into a tight hall will drift off a mat that's only placed straight out front. I moved ours twice before I got the angle right, and the difference showed up within a day, less grit past the mat's far edge, not just less grit in general.
Step 2: Match the litter type to the honeycomb hole size
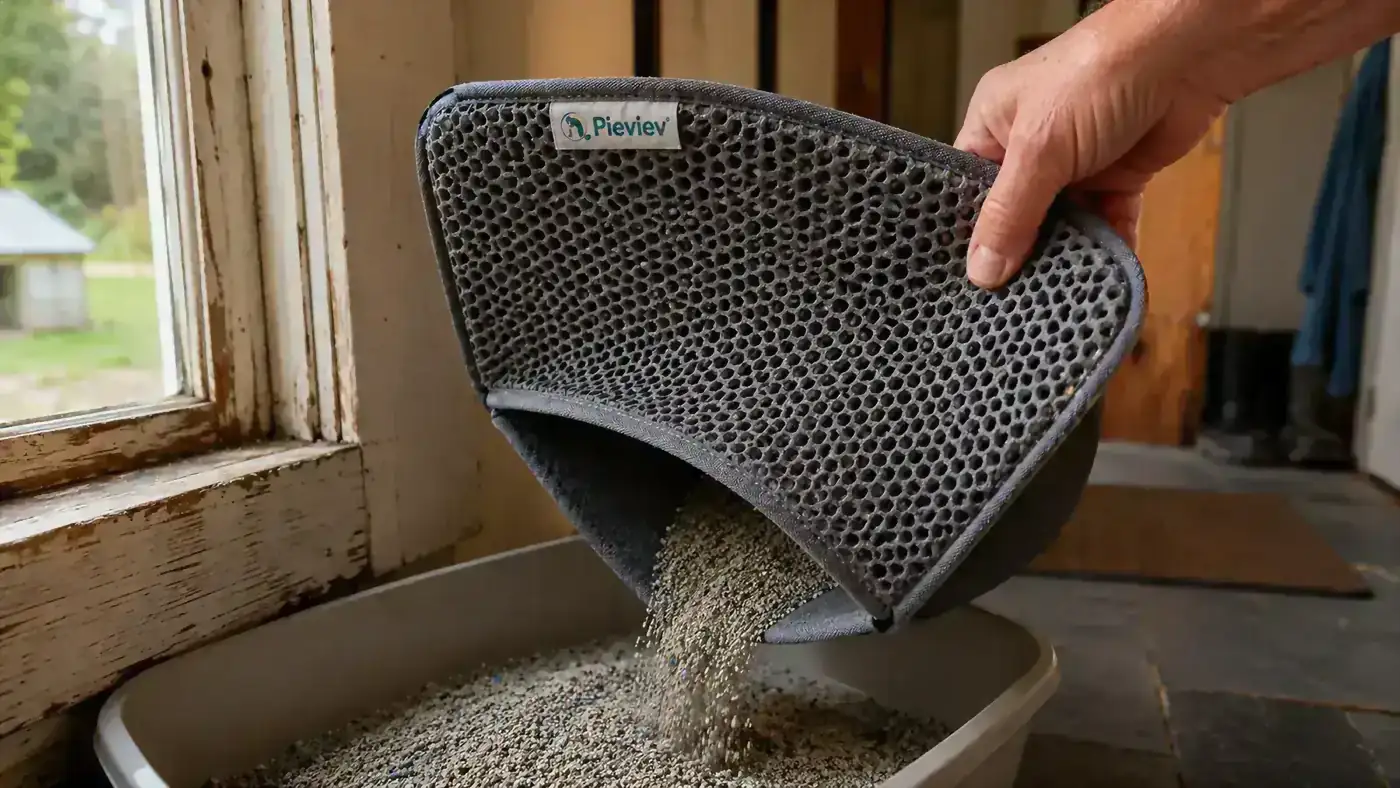
A honeycomb mat like the Pieviev works by letting litter granules fall through surface holes into a lower catch layer, where they stay trapped instead of riding along on a paw. That only works if the granules are small enough to drop through the holes but not so fine they blow through and scatter. Clumping clay litter in a standard medium granule size drops through cleanly. Very fine clumping litters or crystal litters with larger pellets behave differently.
We switched between two litters over the course of that first year with the mat down, and the difference in what ended up on the floor versus trapped in the honeycomb was noticeable enough that I started actually paying attention to granule size on the bag instead of just grabbing whatever was on sale. If you're running a crystal or pellet litter and still seeing a lot of tracking, don't blame the mat first. Check whether the granule size is simply too large to fall into the catch layer the way it's designed to.
Step 3: Get the box height right, and decide if a high-sided box actually helps
Tuck is a digger, not a delicate scratcher, and a low-sided box sends litter airborne well past any mat you could reasonably place. Switching to a box with higher side walls, at least seven or eight inches, cut down on the amount that flew out mid-dig before the mat ever got involved. That's a separate problem from tracking on exit, but it's the one that made our tracking problem worse than it needed to be, so it's worth fixing at the same time. A taller box also gives the honeycomb mat a fair chance, since it's designed to catch litter riding on paws, not litter launched two feet through the air on a follow-through.
There's a real safety reason to think about box height and placement together, not just for tracking. Ruggles, our Lab/hound mix, finds the litter box more interesting than any dog should, and a dog eating litter or a used clump is a genuine health hazard, not just a gross habit. Clumping litter can swell and cause a blockage, and used clumps carry parasites and bacteria a dog has no business ingesting. A higher-sided box makes it harder for a curious dog to dip a nose or a paw in on the way by. It's not a full fix on its own, which I'll get to further down, but it's part of the same step of getting the box setup right before you worry about the mat catching what's left.
Step 4: Set an emptying routine and actually keep it
A mat can only trap so much before it's full, and a full honeycomb layer stops working the same way a full sponge stops absorbing. Scoop the box daily, that part's not negotiable with three animals in the house, but also plan on emptying the mat's trapped litter back into the box on a set schedule rather than waiting until you notice it's gritty underfoot. I settled into doing it every three or four days, which for our household meant twice a week on top of daily scooping.
The Pieviev mat makes this easy enough that I actually stick with it, which matters more than which mat has the fanciest design. You lift one corner, tilt it toward the box opening, and the trapped granules slide back out through the holes and drop where they belong instead of getting swept into a dustpan. It takes maybe twenty seconds. After a year of using this one, the honeycomb holes still release litter cleanly instead of clogging up with packed-in grit, which is the part I was honestly skeptical about when we started.
Step 5: Let the curled edge flatten out before you judge it
Every rolled mat ships with curled edges, and the Pieviev is no exception. Fresh out of the packaging, the corners want to pop back up, which means a cat's paw can catch the lip on the way out and flip litter off the mat rather than depositing it. Don't write the mat off in the first week because of this. Weight the corners down, either with the box itself on one side or with a heavy book overnight on the others, and give it a few days flat on the floor.
Ours took close to five days to lay fully flat, and once it did, the tracking dropped noticeably compared to that first curled week. If you judge a mat's performance before the material has relaxed, you'll blame the design for a problem that was really just shipping curl working itself out, and you might return a mat that would have done the job fine once it settled.
Step 6: Do a weekly deep shakeout
Beyond the every-few-days emptying, pick one day a week to take the whole mat outside or over a trash bag, flex it, and really shake it out. The daily lift-and-tilt handles loose surface granules, but fine litter dust settles into the honeycomb structure itself over time, and that residue is what eventually makes a mat feel gritty even right after you've emptied it. I do this on Sundays, mostly because that's when I'm already dealing with Alison's foster dog gear and the mat's just one more thing in the pile.
After a full twelve months of this weekly habit plus the more frequent emptying, our Pieviev mat still traps litter the way it did in month one. The honeycomb holes haven't torn or packed shut, and the surface hasn't gone slick or worn through in the spot where the cats step most. That's the actual test of a litter mat: not whether it works on day three, but whether it's still doing its job a year in without needing to be replaced.
What Else Helps
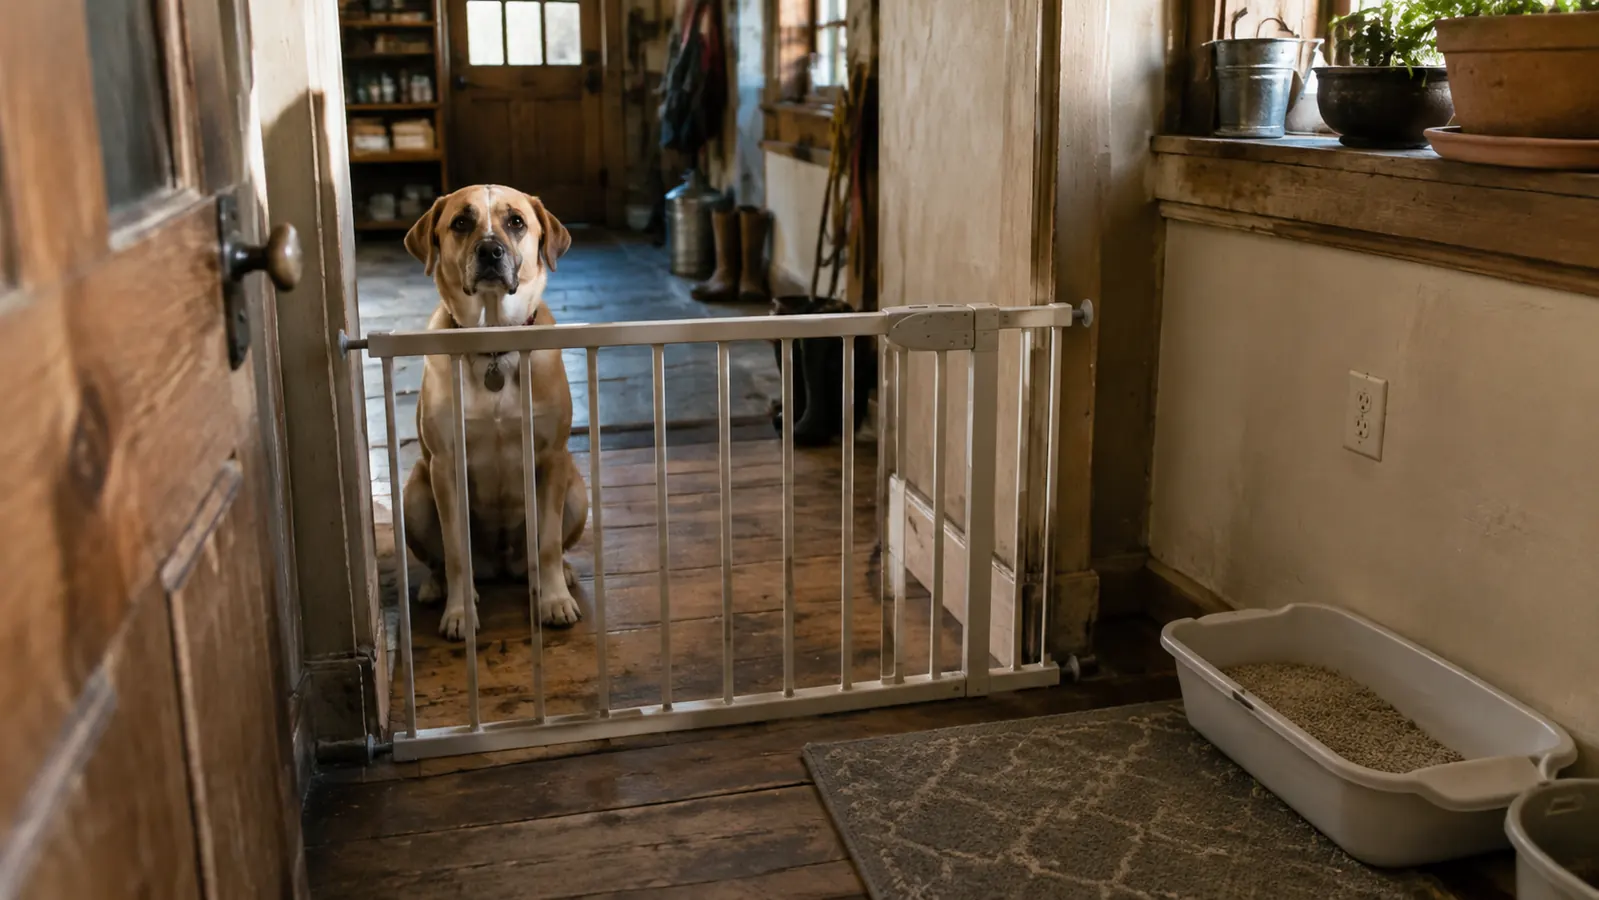
A good mat solves the tracking problem, but it doesn't solve every problem near a litter box. If you've got a dog like Ruggles who treats the box like a snack bar, a mat and a taller box help, but the real fix is blocking access outright, a low baby gate across the hallway entrance, or moving the box into a closet with a door propped for the cat but not the dog. Gene walks that hall barefoot at odd hours since he works nights, and between keeping the floor clean and keeping Ruggles out of the box, the gate ended up solving two problems with one purchase. For a side-by-side look at how this mat stacks up against another popular option, I put together a comparison of the Pieviev mat against a Gorilla Grip mat, since the honeycomb design isn't the only approach on the market and it's worth knowing what you're choosing between.
The mat didn't stop Tuck from flinging litter. It just made sure that whatever he flung stayed in the hall instead of riding into the kitchen on somebody's sock.
Pearl is going deaf and mostly stays by the wood stove now, but she still makes the trip down that hall a few times a day, and the gate keeps things simple for her too since she doesn't have to navigate around a nosy dog crowding the doorway. If you want the broader case for why a mat belongs under every box regardless of which brand you land on, I laid out the full reasoning in 10 reasons a litter mat actually stops the tracking, covering things beyond just floor cleanliness, like keeping litter dust out of a house with an old dog whose joints don't need extra debris underfoot.
A year in, still the mat we reach for
If sweeping the same stretch of hallway every day sounds familiar, the fix is usually placement and routine as much as the mat itself. Start with a mat sized to actually catch the exit stride.
Amazon Check Today's Price on Amazon →